Erin Moraghan
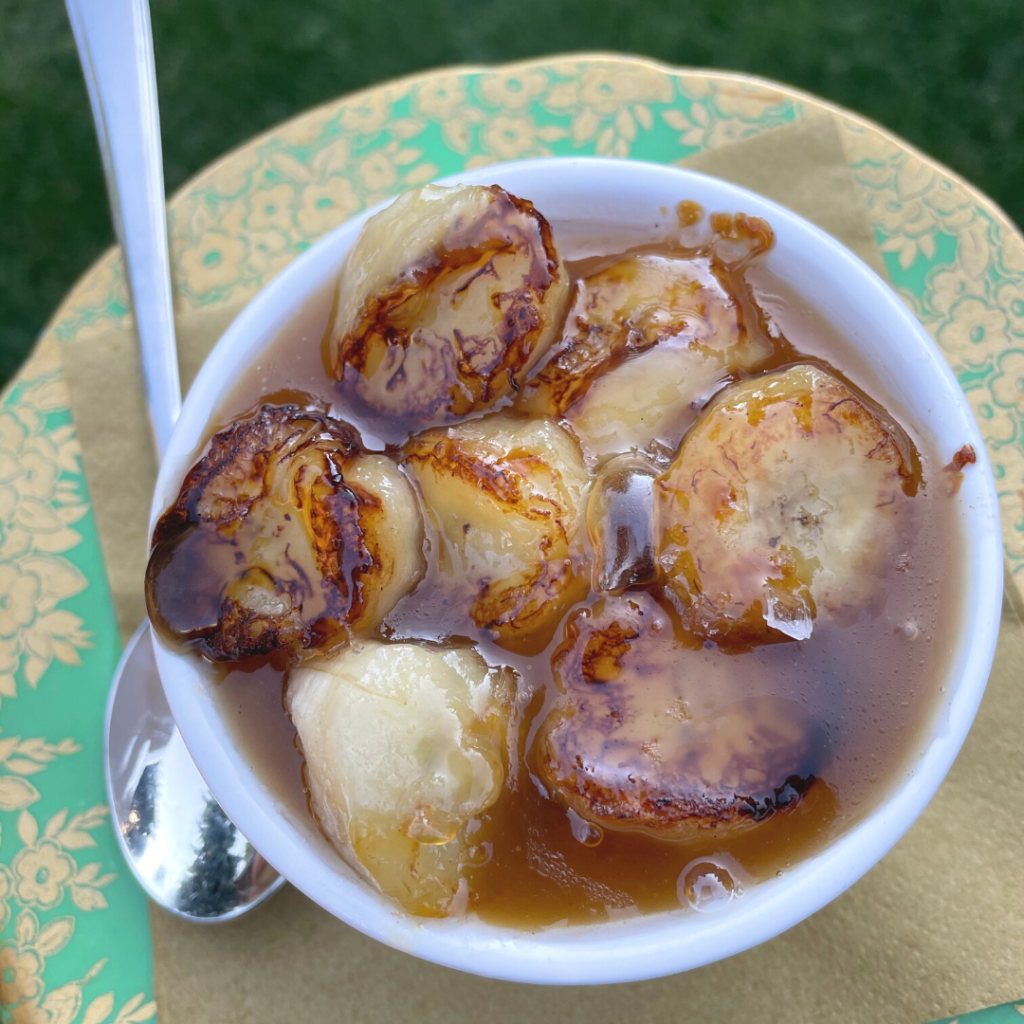
These are next-level delicious. And yes, caramel needs to be in the title twice. These are EXTREMELY caramel-ish and feature two different layers of caramel-style action! They are incredibly easy and fast to make, aside from the 3-4 hours it takes for your custard to set in the fridge.
PLUS:
They’re dairy-free, grain and gluten free, and have zero refined sugar. A total treat, yes, but one that’s less likely to leave you feeling heavy, bloated, or wired on the sugar rollercoaster.
I was at a Farmers’ Market in Collingwood, Ontario last weekend where I saw a booth filled with tarts. These weren’t your garden variety tarts; I saw them and quickly dubbed them tart buckets. I’ve never seen anything like it. Giant tarts easily six inches deep, piled with berries, apples, and creams. I didn’t actually crave one of these tart buckets, but I found myself fixated on the Canadian classic – butter tarts – the whole drive home.
As we drove through Halton Hills my wheels turned. Since I’m still navigating the elimination portion of an Autoimmune Protocol program, I’m completely off grains. I’m not a fan of creating AIP desserts that taste nothing like the real thing, so fashioning pastry out of random AIP friendly pantry items was off the table. My French Canadian genes stop me from messing with something as sacred as flaky, buttery, glutenous pastry.
But could I come up with a rich caramel filling without butter to dress up my vanilla custards? I was sure I could.
The result? One of the best desserts I’ve ever tasted, with rave reviews from the whole crew. This dessert is also perfect without the bananas, adding a hearty pour of caramel sauce to your custard tops and finishing with a little shaved chocolate or a simple chocolate sauce.
Let’s get eating.
There are three items to prep for this recipe:
- Maple Vanilla Custard cups.
- Caramel Sauce.
- Caramelized Bananas.
Maple Vanilla Custard Cups.
Find the recipe here. Omit the Strawberry sauce.
Caramel Sauce.
Make this about 30 minutes before serving. Will top all 6 custard cups, or 4 if you’re a caramel monster : )
Ingredients:
- 1/2 cup maple syrup.
- Generous tablespoon of coconut oil.
- 2 generous tablespoons of full fat coconut cream (not coconut milk, use the solids from your full fat coconut milk can.)
- 2 teaspoons of vanilla.
- Generous dash of salt.
- Optional dash of cinnamon.
Make your sauce:
- In a heavy bottomed saucepan, bring the maple syrup to a boil over medium heat.
- Continue boiling for 3 minutes. Keep a very watchful eye on the syrup, although there’s no need to stir.
- Remove from heat, and stir in your two fats (oil and coco cream), along with vanilla and salt.
- Return pot to medium heat and whisk constantly for about 8 minutes, not allowing the bottom to scorch. Reduce heat if needed and keep the sauce moving at all times.
- Allow the sauce to sit until you’re ready to serve your cups, max about 15 minutes.
- Refrigerates BEAUTIFULLY.
- Pro-tip: Once cooled, drop dollops of sauce in silicone chocolate molds and leave in fridge overnight for homemade caramel candies.
Caramelized Bananas.
Make this about 10 minutes before serving. Will top all 6 custard cups.
Ingredients:
- 2 bananas, sliced about 1/2 inch thick rounds.
- 2 tablespoons of coconut oil.
- 2 tablespoons maple syrup.
- 1 teaspoon vanilla.
Make your bananas:
- In a larger, heavy-bottomed, non-stick frying pan, add your coconut oil and maple syrup over medium heat, whisking to blend with a non-stick whisk.
- Once melted and combined, add vanilla and blend in.
- Add bananas in a simple layer to your pan. Avoid fussing with the bananas, you’ll want to let them brown and caramelize, so occasionally gentle moving the pan is better.
- Flip when desired browning occurs, and repeat on the second side.
- Gently remove bananas with tongs and add directly to your set custard cups.
- Top with caramel sauce and an extra dash of sea salt and prepare for heaven.

